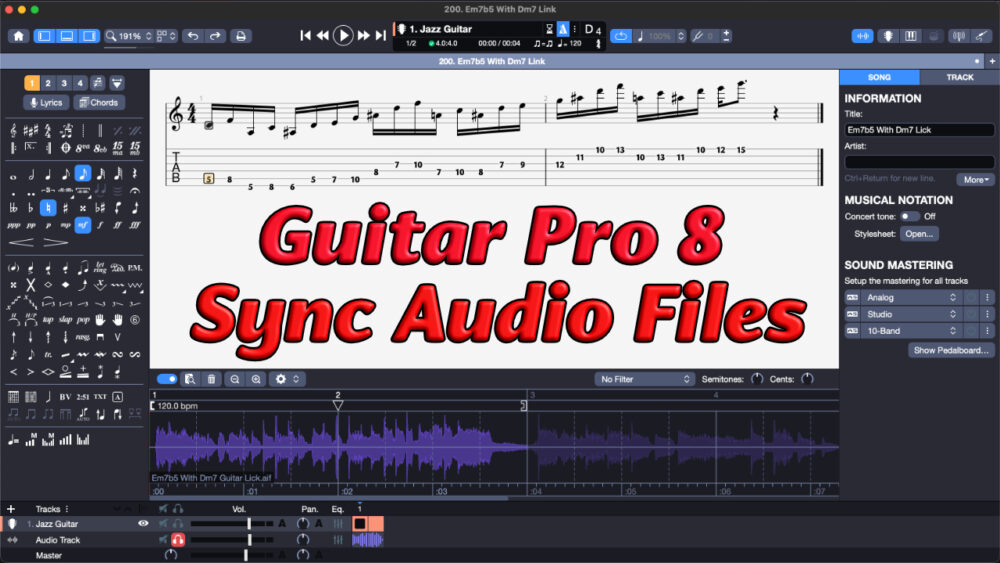
Guitar Pro 8 - Sync Audio Tracks With Your Guitar Tabs
Have you discovered all the great features added to Guitar Pro 8? The option of adding an audio track to your guitar notation has many benefits including:
- Add vocals to the guitar tabs you create.
- Play along to backing tracks.
- Make transcribing easier.
- Help when mixing.
- Enhanced rendering - humanize the playback in Guitar Pro even more.
In my latest YouTube video tutorial, I show you how to sync audio tracks in Guitar Pro 8.
If you prefer to read rather than watch, I have included a video transcript below with screenshots to help you with syncing audio tracks in Guitar Pro 8.
How To Sync Audio Files - Add Audio Tracks To Guitar Pro 8
Hello! In this video, I will show you how to easily add an audio file to a Guitar Pro project.
Why would you want to do this? There are a few reasons this can be useful. You might want to add a vocal track to your score, use Guitar Pro as an accompaniment track, or just to help with transcribing a piece of music.
To save copyright issues, here is the guitar tab for one of my YouTube Shorts licks. All my YouTube Shorts licks are played at full speed and half speed, so this will serve as a good example of matching tempos.

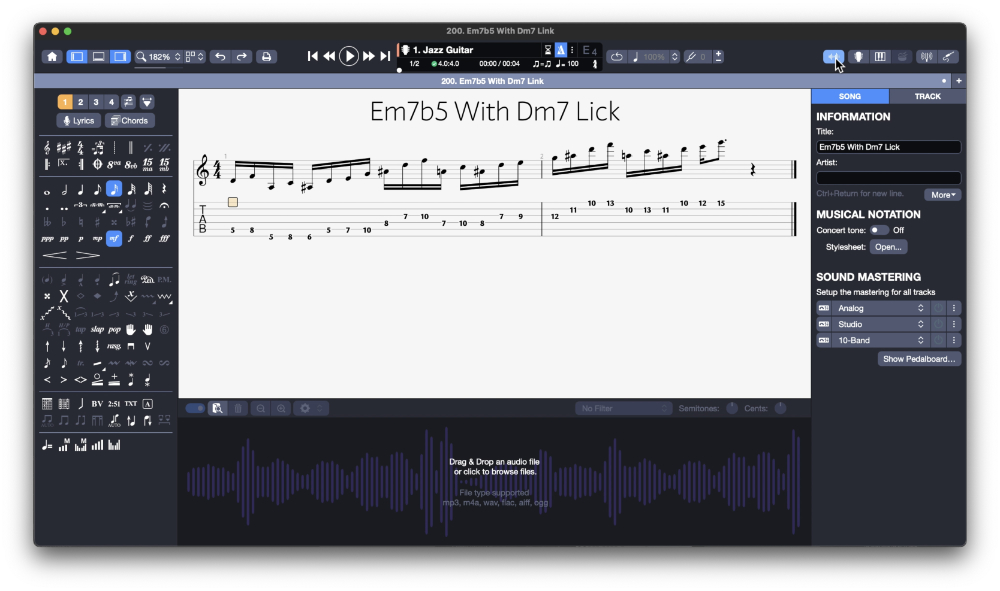
Firstly, click on the “show/hide audio track” button at the top right of the window. You can see the audio track section has appeared at the bottom of the screen.

The easiest way to add an audio track is to simply drag and drop an audio file from your computer. You can see the waveform has appeared in the audio track section.

You can zoom in and out of the waveform by clicking on the plus and minus symbols. I have a magic mouse, so I can hold the command key whilst sliding my finger up and down the surface of the mouse. There is a scroll bar at the bottom which allows you to navigate the audio track. Once again, I can do this via sliding my finger left and right across the surface of my mouse.

To get everything in sync, I first need to align the left square bracket with the first beat of the track. This is relatively easy as the first note is played on beat one. If there is audio before beat one in the track that you are syncing, you will need to use your ears to move the left square bracket to the correct position. Alternatively, you can hold the command key on a mac and drag the waveform to the left or right.

The space bar will play the track. Holding shift whilst hitting the space bar will play the track from the beginning. You can also hover the mouse over the uppermost horizontal section of the track window and the cursor will transform into a speaker icon. Click the mouse button and the track will play the bar in which you have positioned the cursor. Holding shift whilst clicking will loop that bar.

If you only want to hear the audio track and not Guitar Pro playing the tab, open global view by clicking on the Show/Hide global view button at the top left of the screen. You can then solo individual tracks by clicking on the headphone symbol for the track you would like to hear.

If I zoom out, you will see the right square bracket that needs to be placed at the end of the audio section that relates to the guitar tab. If I move this left and right, you will see all the dashed vertical lines move relative to my movement. The dashed vertical lines sync individual beats.

If I double click on one of the beat markers, a solid white triangle appears. The solid white triangle holds a sync point so it doesn’t move when surrounding markers are moved. If I move beat 3 for example, all sync points move. If I double click on bar two’s sync point, this now stays where it is when I move sync points either side of it.

If you want to adjust one beat to sync with the audio track, double-click on the beat markers on either side and they will not move when you adjust the beat in between.

If I zoom out, you will see that the audio track is much longer than the guitar tab. The reason for this is that the audio window plays for the number of bars that are present in the guitar tab window.

If I hover over the extra bars in the audio window, they will appear purple. There looks to be four extra bars, although the lick is played at half-speed when repeated.

I can add extra bars to the guitar tab using various methods. I can click on the plus symbol in the audio window…

I will hit command Z to undo this.
Inserting a bar via right-clicking or via the menu adds a bar before the current bar which is not helpful here.

My favourite shortcut is to hit command and E, type bar, select add-bar and type the number of new bars required.

I will enable design mode via the shortcut control option D and hit the minus sign to balance the score with two bars per line. Clicking on the final bar and hitting command return forces the bars to fill the space. control option D to disable design mode neatens up the screen.

I know the tempo of this lick is 120bpm, so I will click on the very first beat on the stave and click the tempo button. To update the tempo in the audio track section, you will need to click the cog symbol in the audio window and select “create sync points from score tempo automations”.

A warning dialogue box appears, so I will click OK.

If I copy the tab from the first two bars and paste it into the second two bars, the tempo is not correct. This can easily be rectified by either double-clicking the sync point at the beginning of the 3rd bar to fix its position and moving the right square bracket in the audio window to match the waveform. You will see the tempo at the beginning of bar three changing, and it needs to be 60bpm which is half the tempo of bars one and two.

A much easier method is to click on the first note in bar three on the stave and change the tempo here. Nothing has happened in the audio file, so I need to click on the cog icon and create sync points from score tempo automations. The audio window has now been updated, and the tempo changes match the tempo automatons in the score.

If the score and the audio file do not align exactly, it is then a case of moving sync points to fine-tune the performance. You can double-click in the area that holds the sync points and create new sync points and tempo changes. If you are working with material that is wildly out of time, the process can take a while, although once you can figure out where key parts of the audio file are located, these can be used for sync points and be moved to where required.

I hope you found this quick tutorial helpful. If you have any questions or would like me to make more videos on anything to do with Guitar Pro, please leave a comment and I will do my best to help you.
If you did enjoy this video, please give it a like and hit that subscribe button so you don’t miss out on future videos, Bye for now!
